There are some affiliate marketing links in this article
Take a look at You tube tutorial. Quick and dirty Greenhouse
This inexpensive greenhouse is a great starting point for anyone looking to grow plants or house small livestock like chickens, ducks, goats, or rabbits. It can also be used for storage and can be easily modified to suit your needs. I have some links so to help you find some of the materials. Let’s get started!
Materials Needed:
- 2 cattle panels
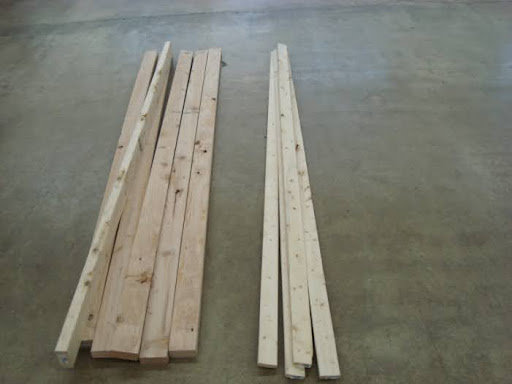
- 6 2x4s
- 4 furring strips
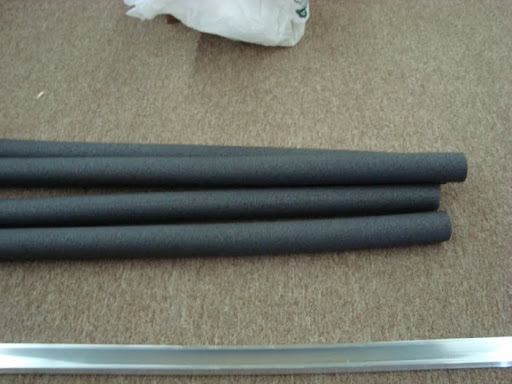
- Pack of ½ inch pipe insulation
- Box of construction screws. I used 2 inch
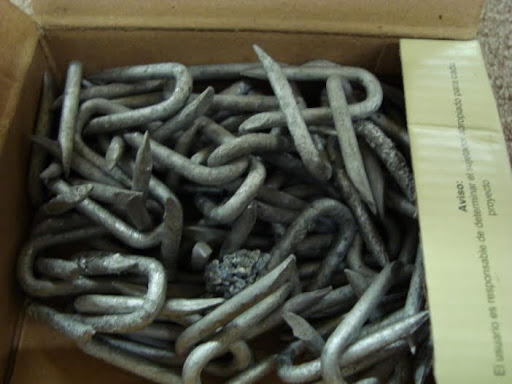
- 8 U nails
- Plastic for covering, Greenhouse Plastic
- Greenhouse repair tape
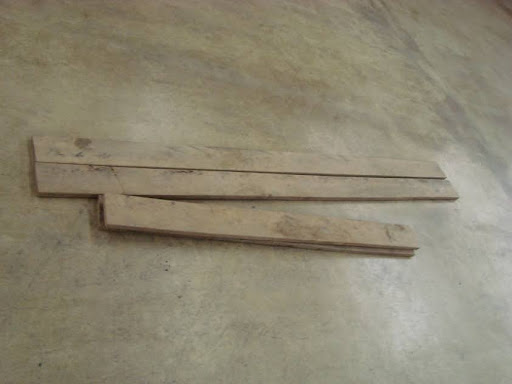
- Treated wood or plastic wood for bases
- Stakes for securing greenhouse to ground
- Optional: Wiggle wire 10 pack
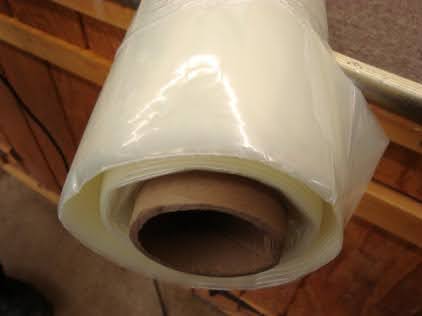
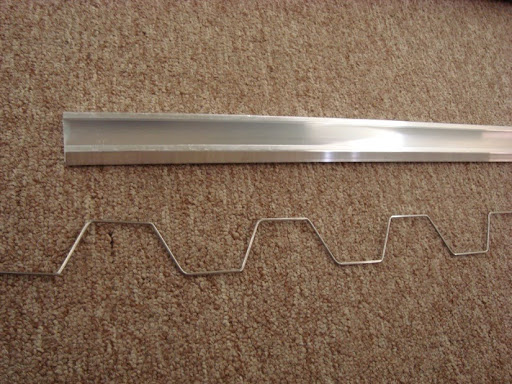
Note on Materials: Use treated or plastic wood for the base to ensure longevity and structural integrity. The plastic covering can be purchased inexpensively, and you might find role ends at a cheaper price. Wiggle wire, used in the greenhouse industry, makes adjusting the plastic easy. Greenhouse repair tape is UV-protected and more durable than clear plastic or duct tape. Pipe insulation is cheap and easy to find, and construction screws help ensure the structure stays together longer.
Tools Needed:

- Saw (circular saw recommended)
- Impact driver with Number 2 Phillips bit (or appropriate bits for your construction screws)
- Drill ( Black in Decker)
- Hammer
- Needle nose pliers
- Pliers
- A little bit of wire
- A helper
Building Instructions:
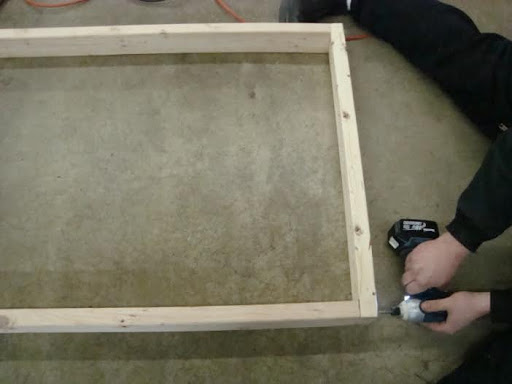
Construct the Base:
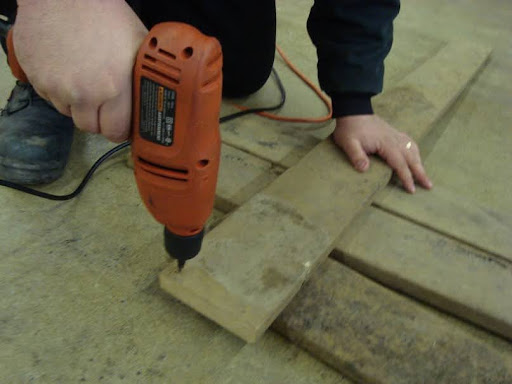
Drill pilot holes in the ends of each base piece. Use treated wood or plastic wood for durability. Paint or stain untreated wood to help it last longer.
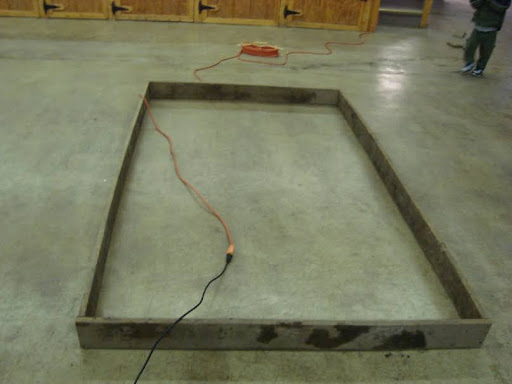
Create a square base using 8 ft boards. This base particular base was smaller and fit in the back of a full-size pickup truck. Use a scrap piece of lumber to maintain the base’s squareness, which can be removed later.
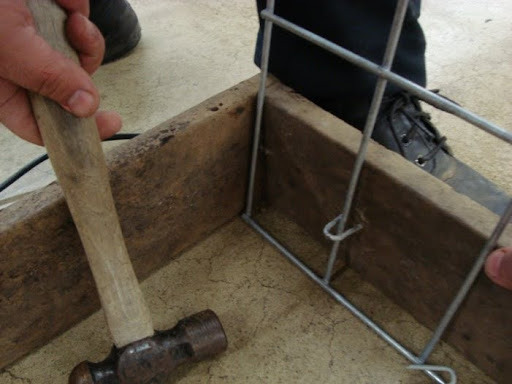
Bend and Secure the Cattle Panels:
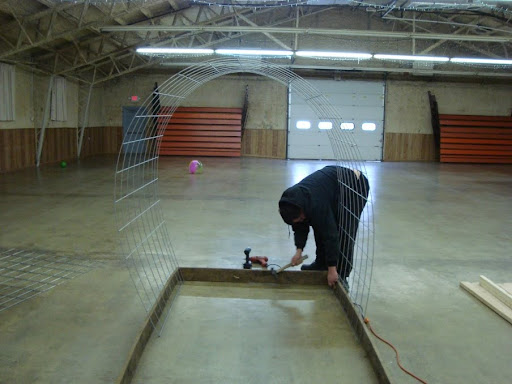
Bend the cattle panels into a U shape and secure them with U nails. If you don’t have a U-nail nailer, use needle nose pliers to hold the nail while you pound it in.

Wire panels should overlap a little. Wire the panels together in 3-5 places.

Shape the Panels:
For a more Gothic shape, bend the panels to create a point. This is an aesthetic choice leaving the round shape also helps reduce snow and wind load.
Build a Back Brace:
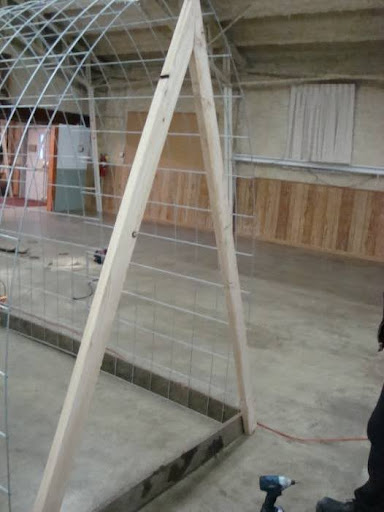
Cut angles in the 2x4s so the top point holds up the end of the panel. Measure to ensure the correct angle based on your base size.
Install a Door Frame:
You can install door frames on both ends for support, but one door frame is sufficient. The door frame supports the wire and serves as an entrance.
Add Pipe Insulation:

Use zip ties or greenhouse tape to attach pipe insulation to each end of the greenhouse. This reduces wear on the plastic covering.

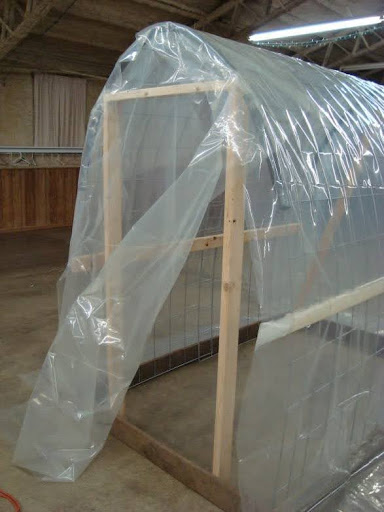
This structure can be modified from here to be use for livestock or storage. Instead of adding clear plastic, add a tarp to offer shade and protection. On the ends of the structure, wire can be added to protect livestock. The possibilities are endless.
You should have a structure that looks like this:
Cover with Plastic:
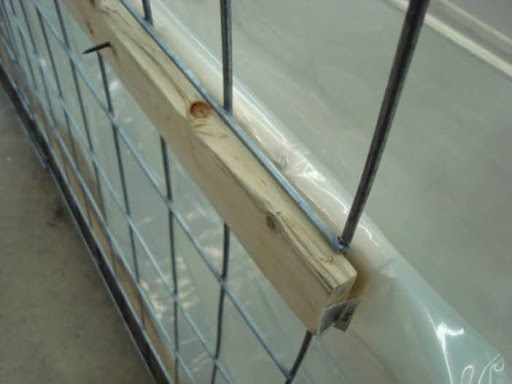

Cover the main structure with plastic. Secure the plastic using furring strips and screws, or use wiggle wire for easier adjustments. If you are using furring strips and screws, Line up the one furring strip on either side of the cattle panels. Screw the furring strips together make sure you avoid the cattle panel wire. Screw to secure the plastic about 2 ½ feet from the bottom to allow for ventilation. You need to allow some overhanging plastic on the ground so you can role up the sides to allow venation. you will want to secure the plastic with cinder blocks, gravel or even dirt.
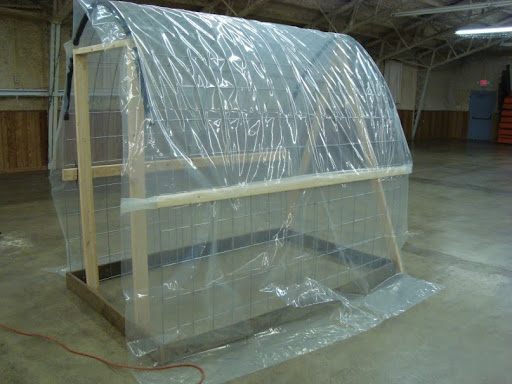
Cover the Ends:

Use more plastic and greenhouse tape to cover the ends. You can install a structural door, but be aware it may cause shadows depending on your greenhouse orientation.
Secure the Greenhouse:
Secure the greenhouse to the ground with stakes, Rebar, or cinder blocks. Ensure the bottom of the plastic can be lifted for ventilation using rocks, soil, or cinder blocks.
Flooring Options:
Use dirt, landscape cloth to increase captured heat, or gravel for better drainage.
Versatility:
This structure is versatile. It can be extended by adding more panels. Ensure extra bracing for longer structures. It can also be used as a livestock shelter with a tarp for shade and protection. For chickens, add roosting bars and laying boxes. This structure is a great way to start your homesteading journey. For more tips and tricks subscribe to Anything Agriculture Newsletter or Subscribe to the YouTube channel Anything Agriculture. Also in Pinterest, Facebook and Instagram. Watch for more video content soon! Let me know how this project worked out for you.
Thank you for reading! If you want more information and updates, please subscribe to my newsletter. Get the latest blog posts and new offers right in your email. It’s free to subscribe, and you’ll receive loads of information at no cost.
Don’t forget to check out Anything Agriculture on social media! Follow us on YouTube, Facebook, Instagram, and Pinterest for more great content. Like and subscribe to stay connected!
Ready to take your homesteading journey to the next level? Book an appointment with me today! With decades of experience, I provide personalized advice to solve any homesteading challenge. Whether you’re a newbie or a seasoned homesteader, I offer expert guidance to make your homestead thrive. Don’t miss out—schedule a chat and unlock the full potential of your homestead with Anything Agriculture. Let’s turn your dreams into reality!


Discover more from Anything Agriculture
Subscribe to get the latest posts sent to your email.

4 thoughts on “DIY Greenhouse: Easy Steps for Beginners”