
New YouTube Video on my about cold frames!! Check it out!!
Who doesn’t want to have fresh vegetables after your garden has finished. It feels great to thwart the natural ending to the growing session and continue to grow vegetables for your family. Using cold frames and row covers to extend your growing season is one easy solution. The best part is, that it’s not hard to do.
There are affiliate links it this article
Cold Frames
I’m never ready for the end of the growing season. Frost seems to come out of nowhere and kill the growing season. Cold frames are great for protecting plants from frost. Planting cold season crops in a cold frame helps with the “Growing Seasons Over” blues. The growing seasons not over, not yet, not if you have a cold frame. Garden fresh vegetables in late fall early winter is amazing.
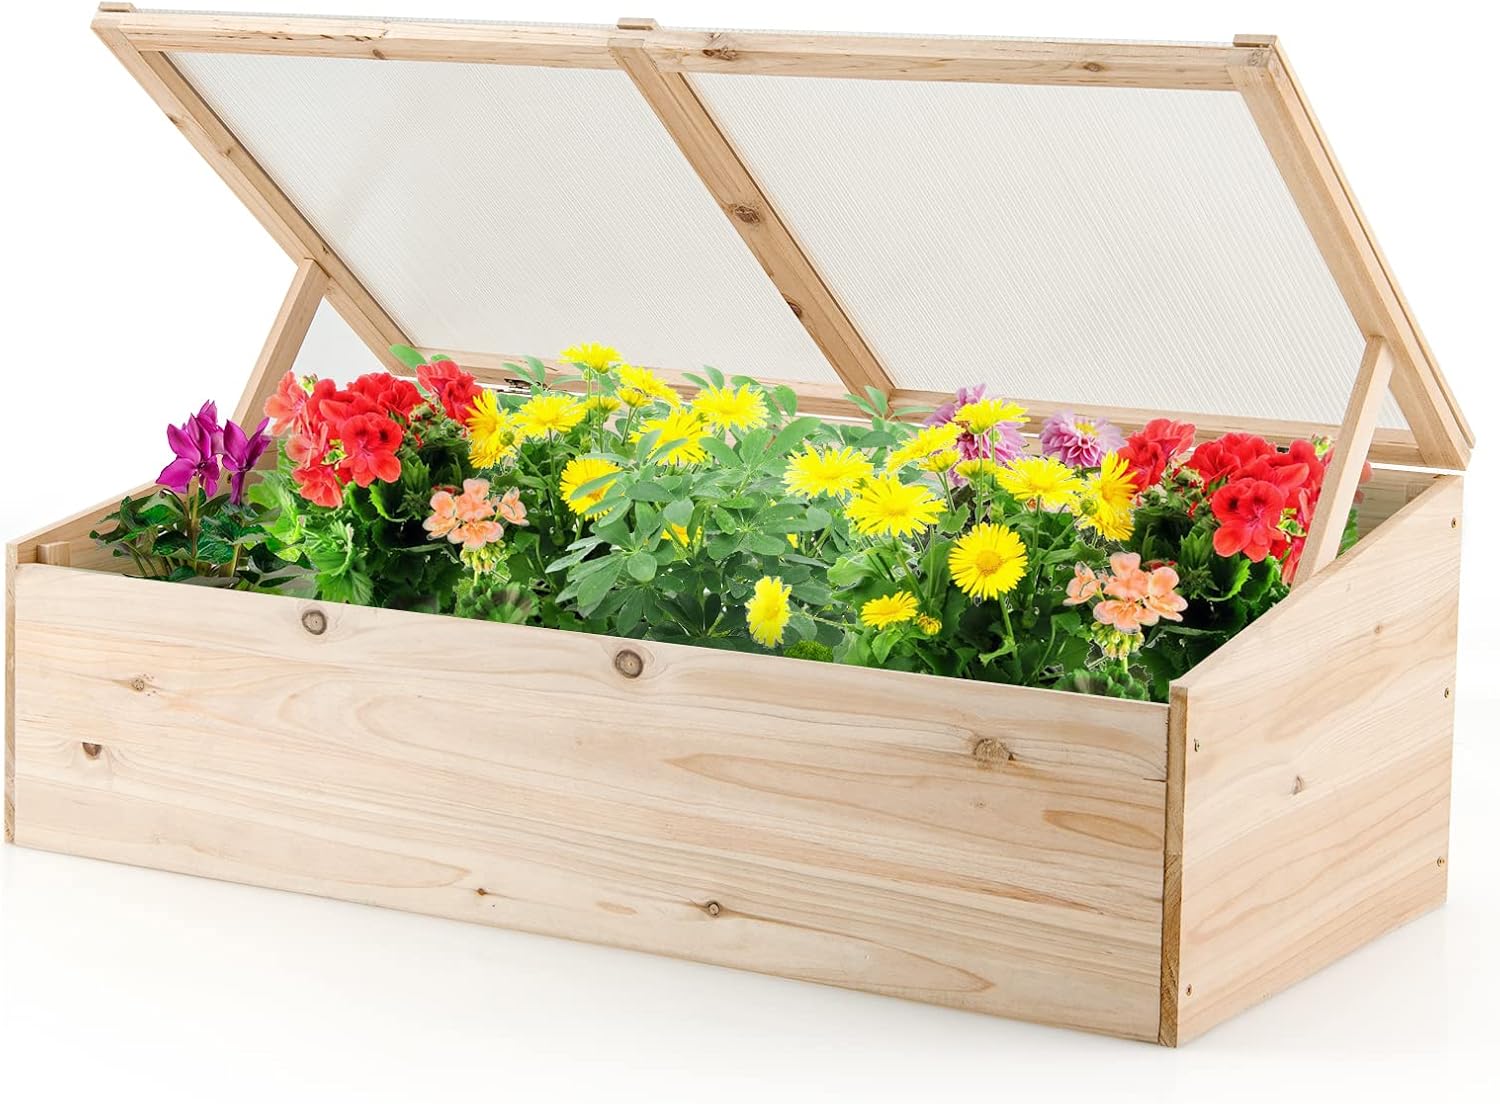
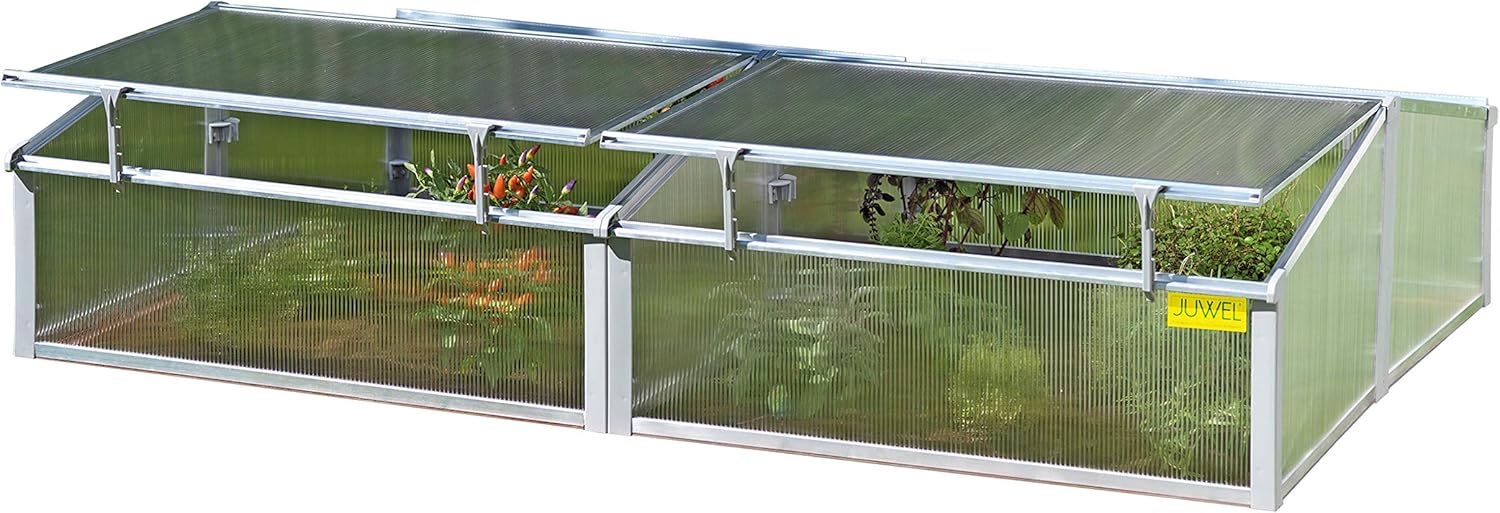
https://amzn.to/410nafS
Cold frames are also great for getting ready for the growing season. They warm the soil up early. This allows seed planting to happen several weeks early. Giving you a jump on the growing season. Cold frames are great at protecting young plants from late frosts in the spring. Having a few extra weeks of growth can get your garden off to a great start. Cold frames create a humid environment that encourages plant growth and produces bigger plants.
What is a cold frame?
A cold frame is essentially a box with a transparent cover. This box acts as a small greenhouse for your plants. They protect plants from the elements, especially frost, wind and cold temperatures. A micro-climate is created using solar energy and the ground as insulation. They are great for starting plants in the spring and growing cold tolerant plants in the fall. They can also be used to overwinter dormant plants. The cold frames usually stay a bit warmer throughout the winter.

Be aware you have made a little greenhouse, and these little greenhouses can get quite warm with good sunshine. It is not uncommon for them to get above 90-degree F. High temperatures can damage young seedling. Getting a thermometer to monitor the temperature will help avoid any unfortunate seedling death. Cold season plants such as cabbage, radish and lettuce need cooler temps to grow well. Venting the cold frame when it is reaching higher temperature is necessary.
Watering
Don’t forget to water the plants in your cold frames. Active plant growth will use water and can quickly dry the soil out. You may not need as much water as you would in the summer months. It is a good idea to watch the plants and make sure they have enough water.
Hardening off your Seedlings
For those who don’t know, hardening off seedlings is the process of acclimatizing them to the outside temperatures. It’s hard on seedlings that have been in a warm and moist environment to adjust to the outside weather. Hardening off is important. If seedlings are shocked, it can kill them or stunt their growth. Start by gradually exposing the seedling to the outdoors. Leave your cold frame open for longer periods. Do this repeatedly over a couple of weeks. You can move plants into a shaded area to help the hardening off process. Then move them back to the cold frame to help them harden off.
Tips about Building Cold Frames
Cold frames are great for the DIY person. They are relatively simple to make and easy to use. Most of the time you can use materials you have on hand or can scavenge. Recycled materials for cold frames is a wonderful way to help the waste. The basic set up is a bottomless box with a piece of something clear to let the sun in. They can be as easy as placing a straw bale around your plants with a glass door on top. Alternatively, they can be a complicated woodworking project with an automatic opener and all the bells and whistles.
Tips and Tricks to Cold Frames
Insulating the box will help extend the season. Use insulation or bubble wrap or just some straw. This help eliminated any drafts
The cover doesn’t have to be totally clear. It has to let most of the light in. It can be a semitransparent film or poly carbonate.
Face your cold frame south. This will capture the most sunlight. Winter sunlight can be weak but facing south makes the most of the sun that is available. Winter sun is on a different angle than summer sun. Utilize all the sunlight, as it is most beneficial to your plant.
Bells and Whistles.
You can buy cold frames online if you are not a confident DIY person. They are nice option. They are quicker to get working. There is everything thing from your basic cold frame to deluxe models with nice bells and whistles.

– Kits have all the pieces and directions to help you build the cold frame.
– Kits sometimes come with automatic openers. These are great for hands-free ventilation of the cold frame. They work when it gets too warm then opens to allow the heat to escape.
-Kits can have added insulation to the box will help remove drafts and help keep it warmer.
-Kits generally are made from a rot and disease resistant materials like plastic or treated wood to ensure a long-lasting cold frame
– Kits sometimes add black ground cloth to help warm the box and reduce weeds
-Some kits make it easy to add heat coils or seedling mats. These additions help keep it warm during colder temperatures for starting seeds.
-Kits are a great choice for the time crunched gardener. Cold frame kits also make great Holiday gifts for that gardener that has everything. Gardeners can never have too much planting space.
If you have chosen to make your own cold frame, you can you add your own DIY bells and whistles. You are absolutely able to add the DIY accessories. The best part of building your own is that you can add whatever accessories you need. Here is some suggestions to try. I am sure there are a lot of great ideas out there. Love to know what you have done. Please put your ideas in the comments.
Clearhttps://amzn.to/4i9pveo

https://amzn.to/4g3yV9F
–DIY Automatic Openers
You can buy an automatic opener and add it to your cold frame. Make sure it can lift your lid. Lids are often made from glass and glass is heavy.
-DIY Insulation
You can insulate with almost anything. Straw bales work great. Bubble wrap and reflective insulation work great too. Insulation can also remove drafts. However fiberglass insulation can be problematic. Animals like to nest in it. It can get all over if not contained and sealed.

https://amzn.to/4g4Jd9v
– DIY Using Plastic Wood
This is a bit harder. You can protect your box with paint to help resist water. Alternatively, using scraps of plastic wood from another project is a great idea. Use recycled plastic wood to maximize the benefit to your project and the environment.
– DIY Using Ground Cloth
A DIY ground cloth. Using cardboard on the ground and some mulch will help insulate your box as well as help keep the heat. Using dark mulch will help with warming the box.
-DIY Heat Coils
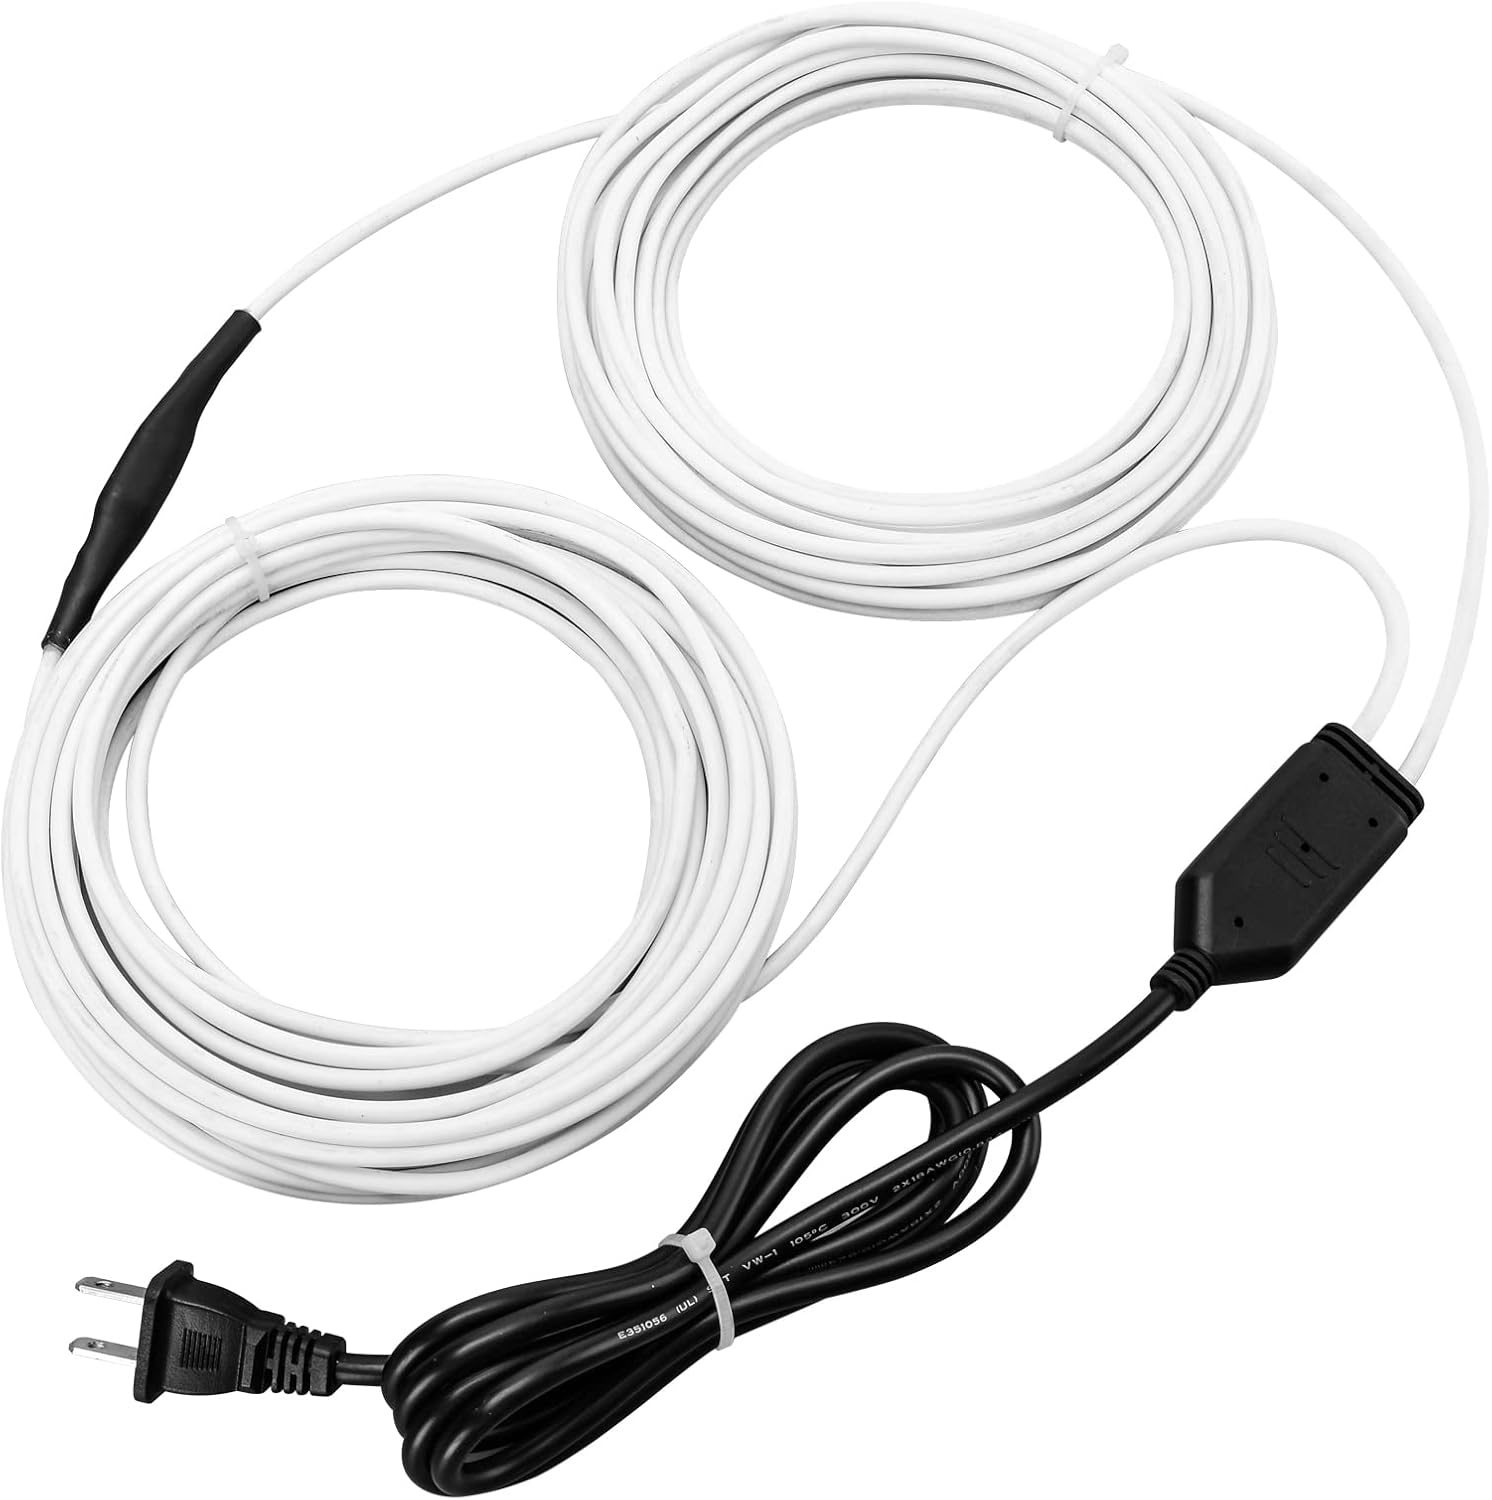
Soil Heating Cable, 49 ft Electric Soil Warming Cable for Garden, Soil, Cold Frame, Keep Soil Warm
https://amzn.to/3Op8zTE
I have seen people use outdoor Christmas light nets to increase the heat bed of seedling trays. They would have to be tradition lights, not LED because LED don’t get warm enough. You would need to make sure the lights are in good working order. You need to check them daily for damage. Also, this is not a solution to be done for a long time. It will work great for a few weeks to start seedlings.
I have built several cold frames over the years. Almost all have been from material that have been laying around. It doesn’t have to be complicated. I have a quick and dirty video that will be posted soon. I hope you will share some of your DIY cold frames. I would love to see the good, the bad and the ugly.
Here’s a good website about cold frame from the University of Iowa.
Yard and Garden: All about Cold Frames | News
What about Row Covers?
What about Row Covers?
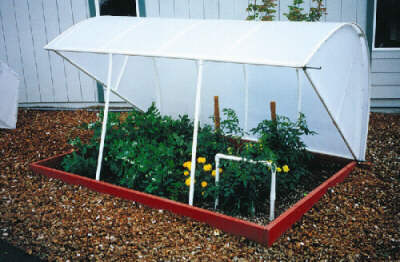
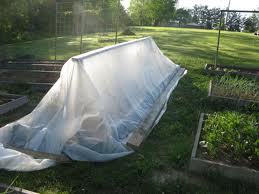
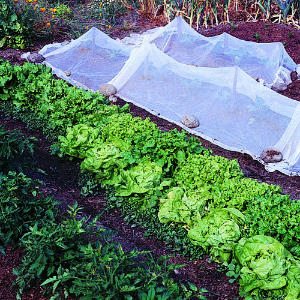
Row covers are an excellent for season extension. A row cover is a blanket usually made of spun poly material. It can protect plants from frosts and pests. These are temporarily installed to help enhance plant growth during the spring or fall by increasing temperature and humidity. Row covers can give 2-7 degrees F of frost protection. Row Covers also can protect a crop from insect pests. They are a temporary measure and usually gives a grower 4-6 weeks of extended growth. A row cover also gives wind protection to young plants. Most row covers can be reused for 2-3 years. The are relatively inexpensive choice for season extension.

What the row cover is made of can make a difference. Most commonly it is a spun poly-synthetic material. It feels a bit like gauze. This material allows for air flow and water to filter though. The type of row cover you use will decide how much protection you will have. Generally, there are three weights of row covers. Light, medium and heavy weight fabric.
-Light weight is best for insect barriers. They also have great light transmittance. upwards of 90% It protects against light frosts.
– Medium weight is best for frost protection for spring and fall crops. Medium will give about 4-6 degrees of frost protection and has about 85% light penetration.
-Heavy weight is best for heavy frost and over wintering of plants. The light penetration for heavy weight is about 50%
Row covers have one great advantage. They are useful when you want to cover already established plants like strawberry or raspberries. They are also helpful for garden plants. It is relatively easy to add row cover over an established plant and can extend your harvest. Depending on the crops, just put the cover over the crop and secure it with staples or bricks. For taller plants, the row covers can be supported by PVC or wire bows to make a tunnel. Make sure the ends are secured from wind and animals
Some of the disadvantages or row covers;
-Weeding under a row cover can be problematic and may require pulling the row cover off.
-If you grow a crop that relies on pollinators, a row crop may hinder pollination. You should pull it back to allow for adequate pollination.
– It also can be time consuming to pull row covers off. This is especially challenging in windy conditions.
– Mice love to nest in row cover in the off season. You will need to store the row covers in a mouse proof box.
– Severe weather can tear and rip up a row cover.
– The row crop material can also tear on stems or plants during windy conditions
– In some areas, recycling the row cover is problematic.
Row cover are a great addition to your cold frames. Both of these tools can be used to increase you harvest and lengthen you growing season. I would love to see how you are use these tools in you garden and homestead.
More information about row covers here are two great websites. They have great information. Enjoy!!
NRCS row covers
University of Maryland
Row Covers | University of Maryland Extension
Thank you for reading! If you want more information and updates, please subscribe to my newsletter. Get the latest blog posts and new offers right in your email. It’s free to subscribe, and you’ll receive loads of information at no cost.
Don’t forget to check out Anything Agriculture on social media! Follow us on YouTube, Facebook, Instagram, and Pinterest for more great content. Like and subscribe to stay connected!
Ready to take your homesteading journey to the next level? Book an appointment with me today! With decades of experience, I provide personalized advice to solve any homesteading challenge. Whether you’re a newbie or a seasoned homesteader, I offer expert guidance to make your homestead thrive. Don’t miss out—schedule a chat and unlock the full potential of your homestead with Anything Agriculture. Let’s turn your dreams into reality!


Discover more from Anything Agriculture
Subscribe to get the latest posts sent to your email.
